Configuring CI/CD from GitLab to an Azure Web App

One of my clients uses GitLab for their code repo and wanted me to setup CI/CD of a .net core 6 app to publish to their Azure environment. Azure Web Apps can automatically pull from several repos, but GitLab isn't one of the fully automated ones. It is possible, however, it just takes a few more steps. I'll walk through those steps along with a couple gotchas as well.
1. Create a Web App in Azure. Since it's .net core, I chose to use a web app for linux. They are cheaper than their windows counterparts, so why not.
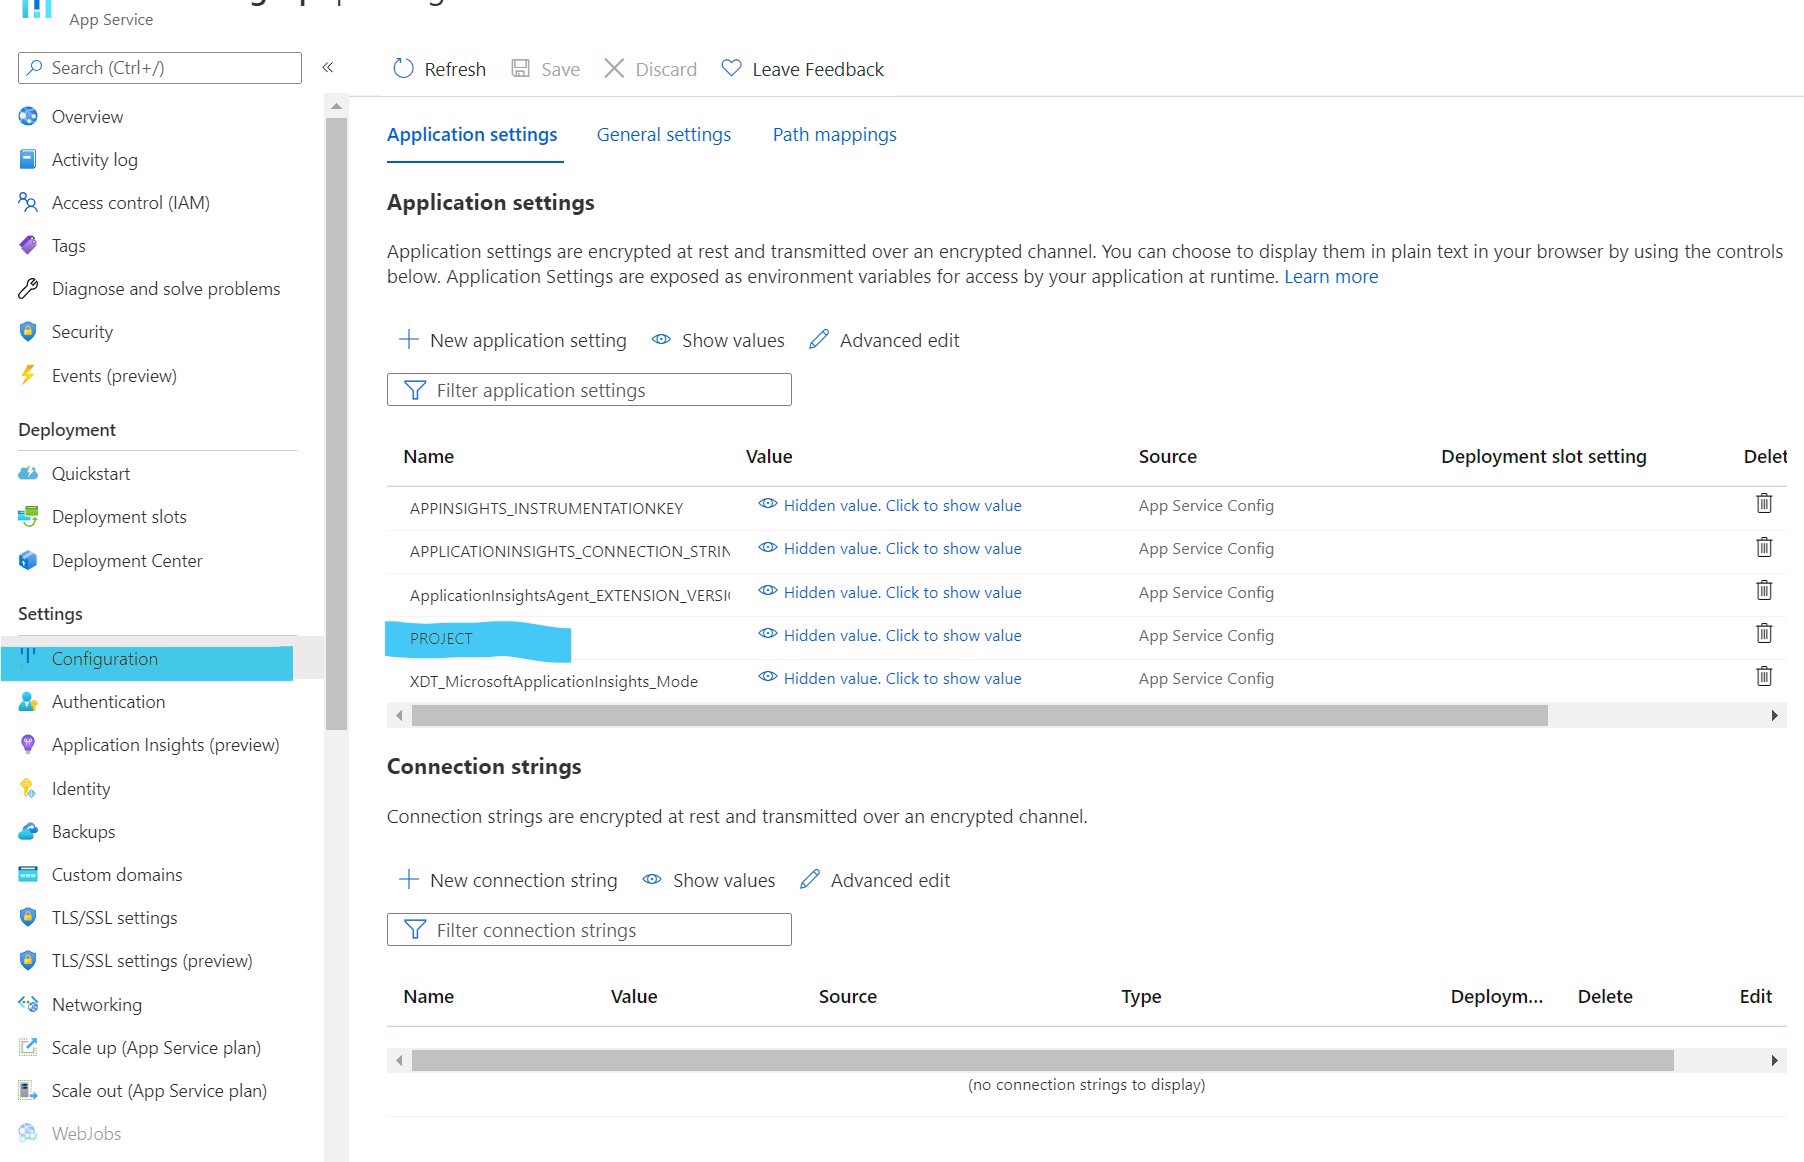
2. Optional Step - Along with any other application settings your app may need, if you're solution contains more than one project like mine did, add in an app setting called "PROJECT" and give it a value of the relative path to the project file you want to publish. The value will be something like: folder/projectname.csproj
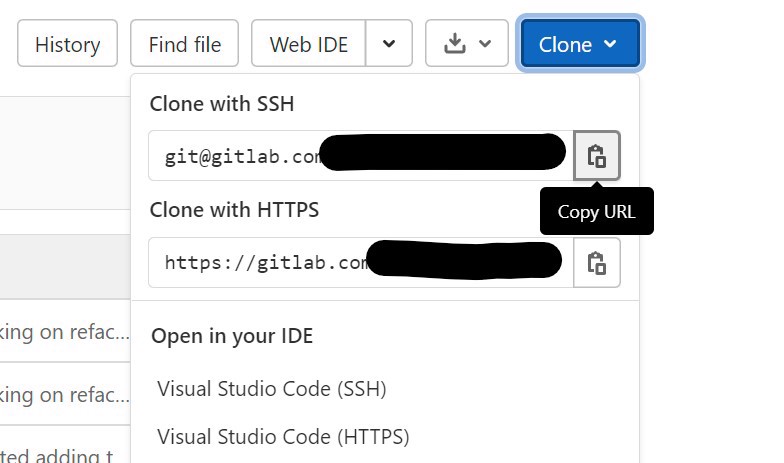
3. Now in Azure, go to the Deployment Center. In the Settings tab, chose the External Git option. The Repo will be the Clone with SSH option from your GitLab Repository. Also, choose which branch you want to pull from (usually main, master, or develop).
4. Now we need to get the SSH key for the Azure Web App and enter that into GitLab so that our pull will be authorized. You can find that ssh key from the following URL:
https://your-web-app-name.scm.azurewebsites.net/api/sshkey?ensurePublicKey=1
Copy the key without the quotes. It should be in the format of: ssh-rsa <really-long-mess-of-characters>
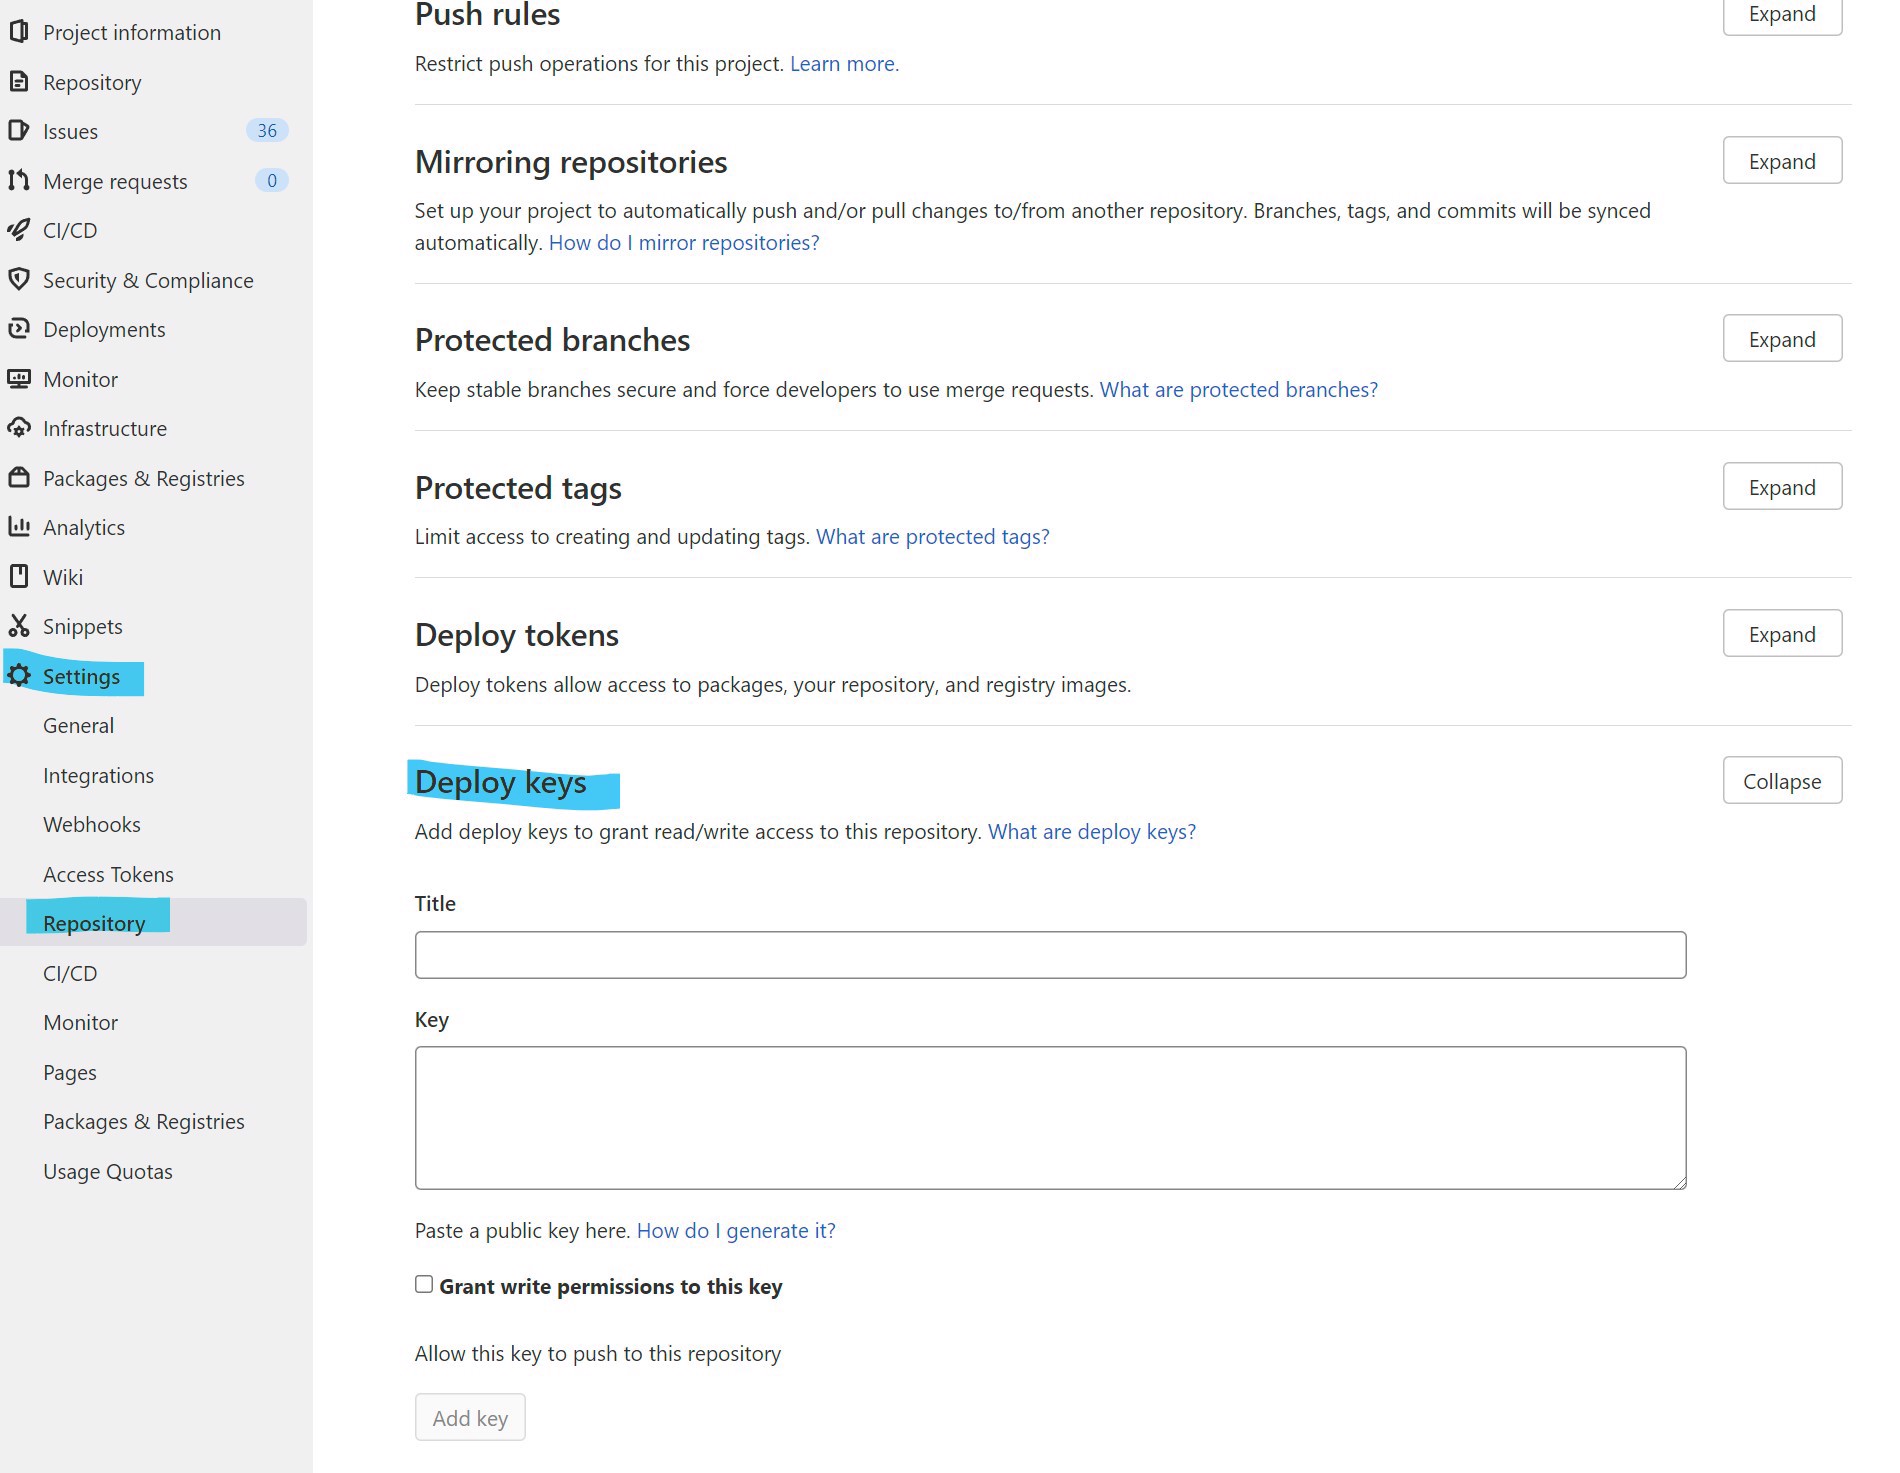
5. Go to your project in GitLab. Then navigate to the Settings -> Repository page and find the Deploy Keys area. Give the new key a Title of your choosing and then paste in the SSH key you just got from Azure. This step authorizes your Azure Web App the ability to pull the code.
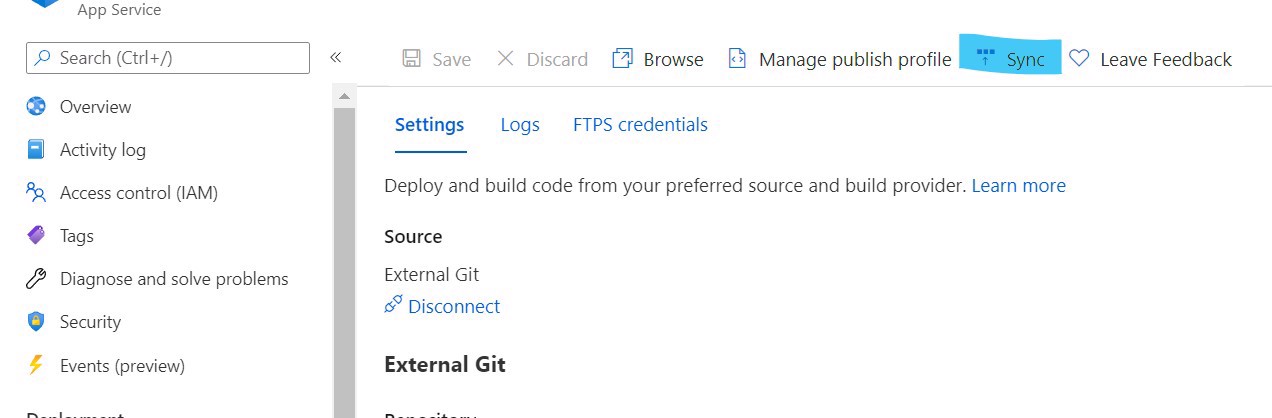
At this point, you should be able to go to Azure and hit the Sync button and it should work.
This is all good, but nothing is automated yet. In order for that to happen, we need to do a couple more steps.
6. We need to get the deployment trigger URL that tells Azure to run the sync. It'll be in the following format:
https://$<web-app-name>:<password>@<web-app-name>.scm.azurewebsites.net/deploy
Simply swap out the <web-app-name> with your app's name. In order to get the password, go to Azure and download the publish profile and open it up in a text editor. The password is in a variable called: userPWD
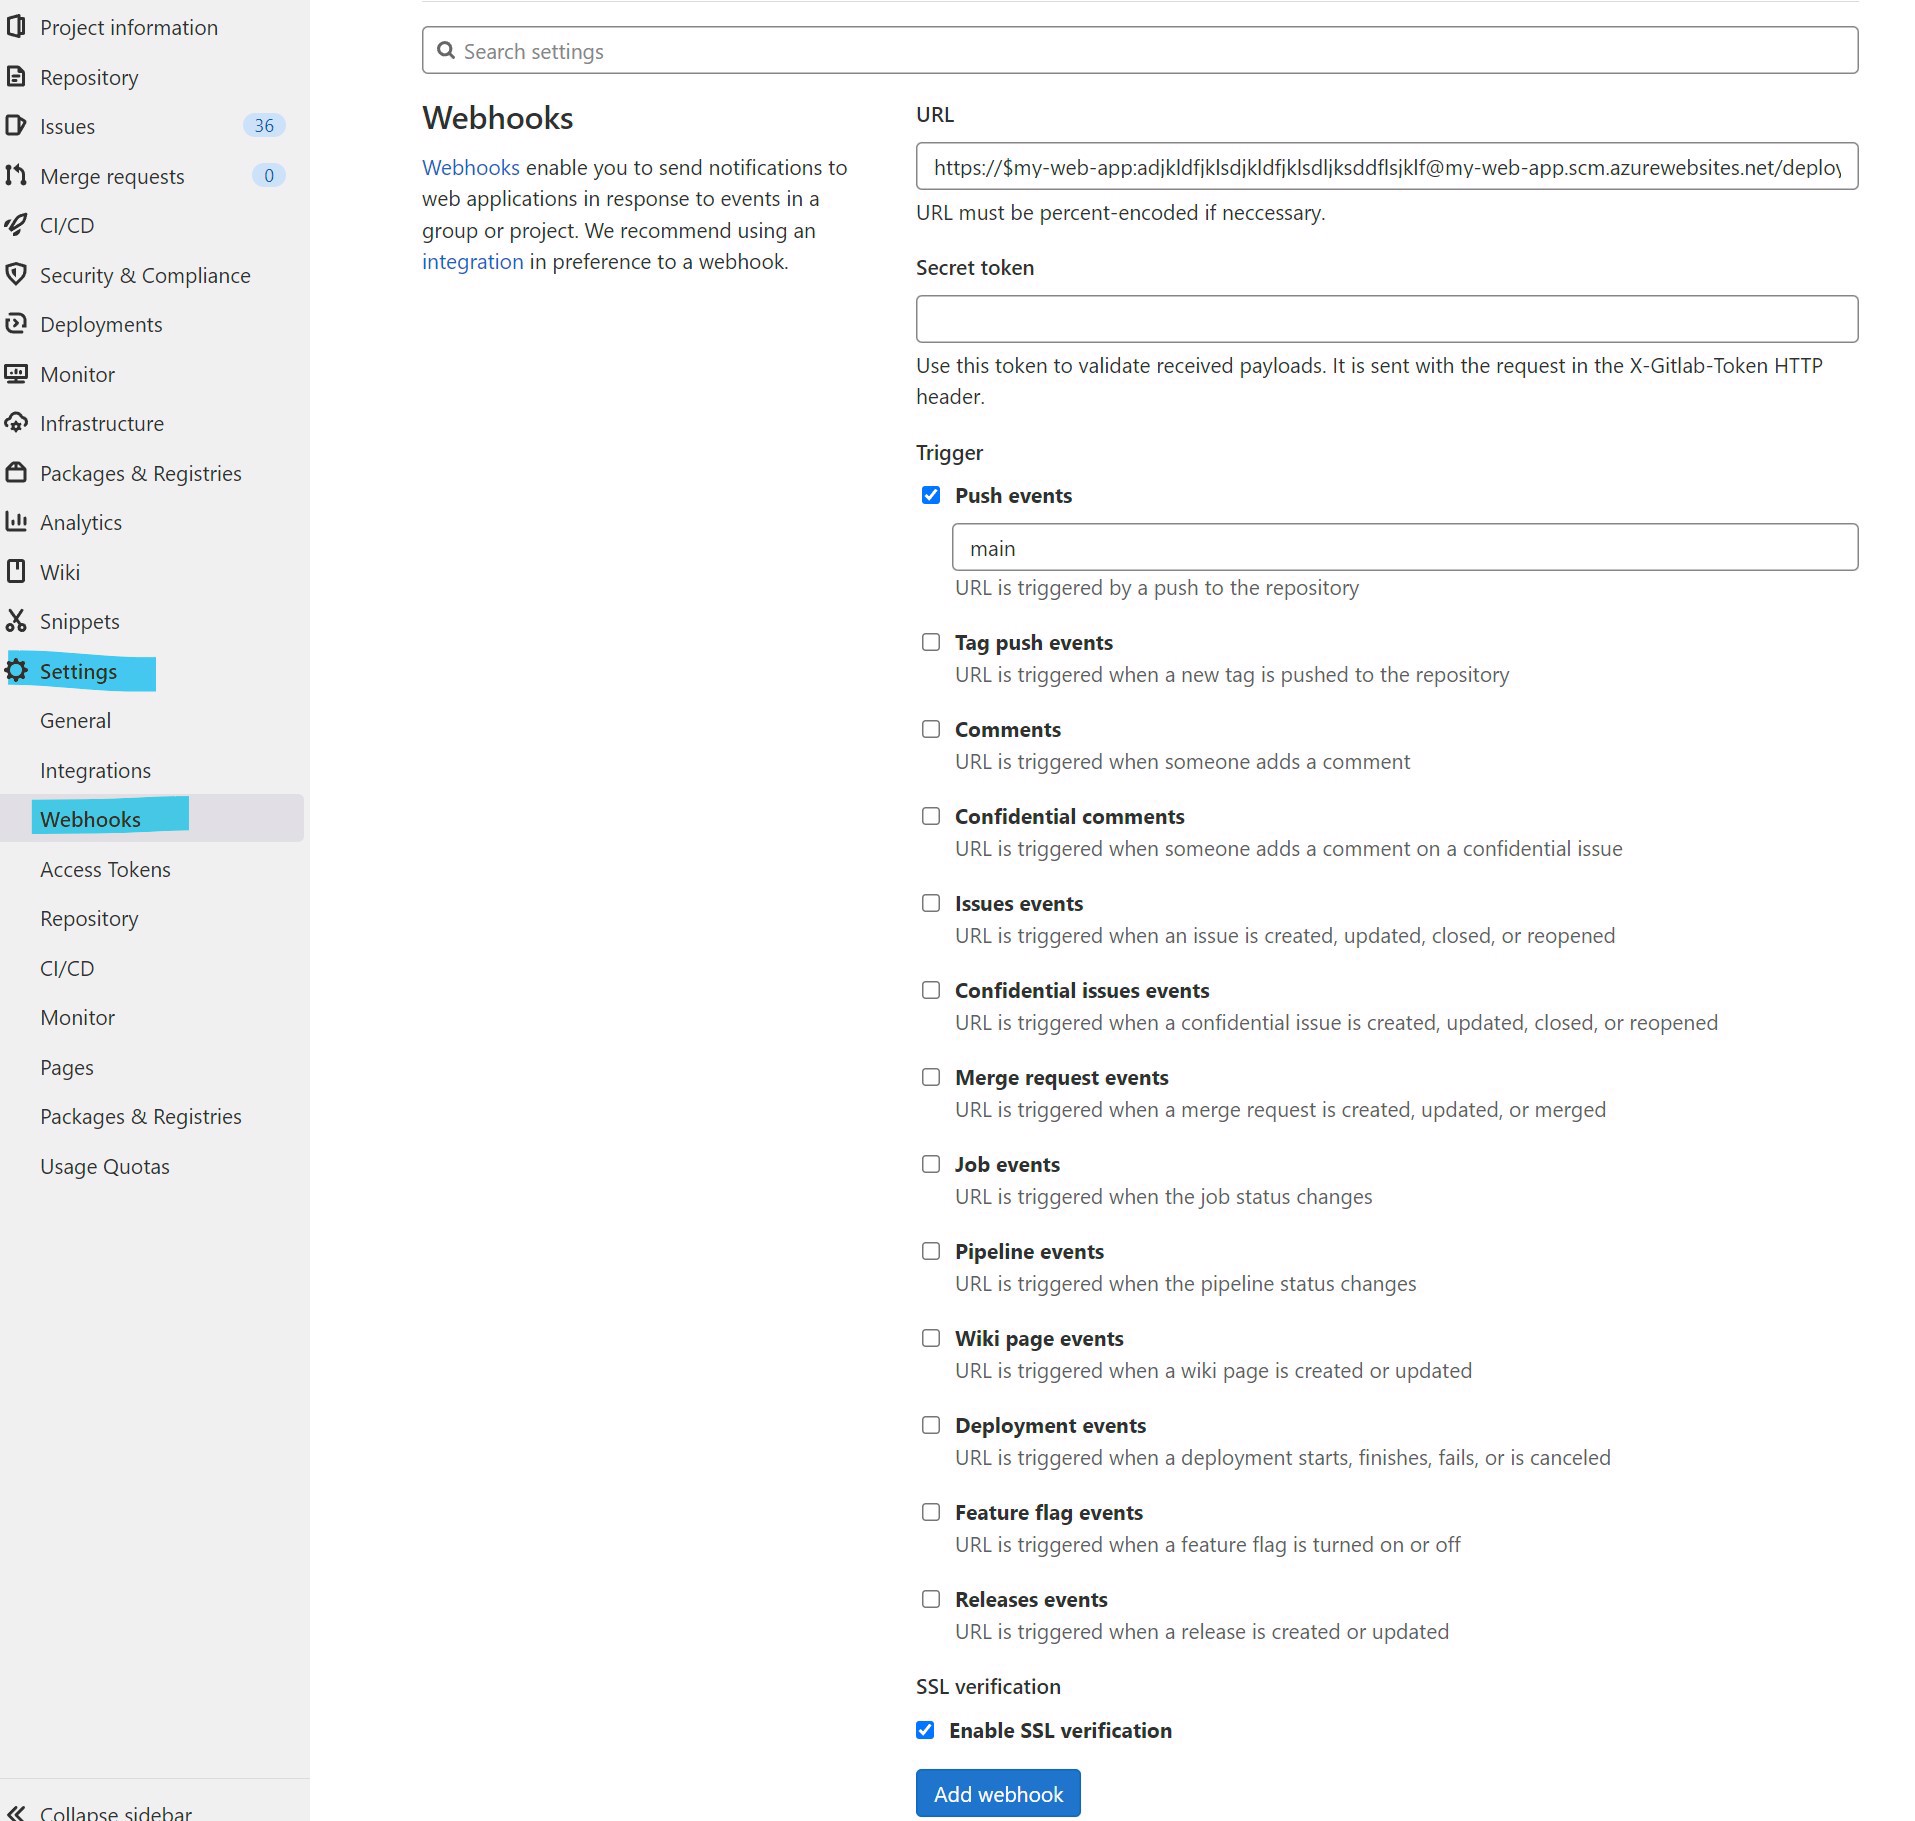
Once you have that url constructed, go back to GitLab and navigate to the Settings -> Webhooks page.
7. Enter the Deployment Trigger URL from above into the URL field. Make sure the Push events checkbox is checked. Also, enter the branch name and make sure the Enable SSL verification is checked. When you enter that webhook, you should be golden.
8. Back to Azure, I found it useful the first few times to check the logs to make sure things are working as expected. Go to the Deployment Center and hit the Logs tab to see the most recent pipeline attempt. You can drill into the logs a little bit in the case something went wrong.

Hope this helps!